Here is a quick and simple way to make your own printed ribbon. Truth be told, I took the pictures for this tutorial last year and never got around to writing it so here goes.
Materials:
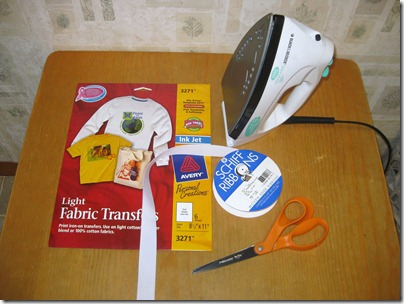
Ribbon 7/8” Wide
Transfer Paper
Scissors
Iron and Ironing Board
Computer and Printer
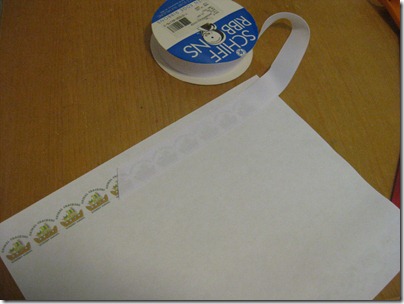
For this example I wanted to make my girls some ribbon with their preschool logo on it so that they could show some school spirit. I found the image on-line and then saved it as a JPEG. Next print out your image and check to make sure that it will fit on your ribbon.
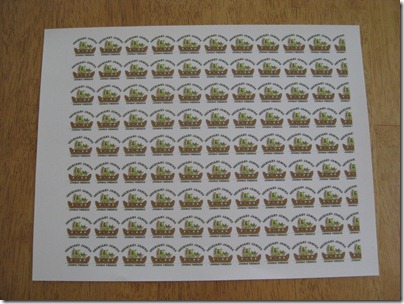
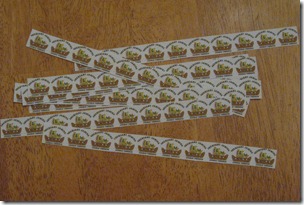
Now copy your image several times in rows across the page. It is best to have your page in landscape so that you can get longer strips. I did this test run on regular printer paper. If everything looks good with your test print, print it out again onto the transfer paper. Follow the instructions on the back of the package. The most important thing to remember is that you will need to PRINT YOUR IMAGE IN MIRROR IMAGE!
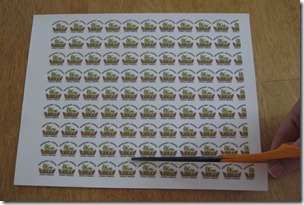
Now carefully cut apart your strips.
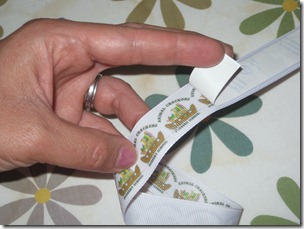
Iron the strips onto your ribbon and peel off the paper backing.
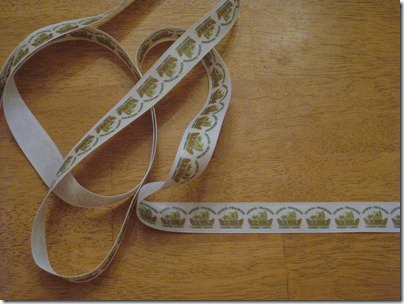
Viola! Lots of beautiful ribbon for making hairbows!
No comments:
Post a Comment